A Handmade Christmas
Very long story short, we are building a new house so trying to trim the budget to make sure we can afford any extras we want to add to the new house. After a bit of a freak out over interest rates, the cost of building and rising inflation that is causing everything to be so much more expensive then it once was, I decided that I was going to do a handmade Christmas. Presents to our 3 kids from us (my husband and I) are going to be handmade. The problem? I decided I was going to do this with only about 3 months until Christmas. Another problem? This time of the year is always flat out for us with both of us working, kids concerts, birthday parties, Christmas parties, an increase in things happening with this little business of mine and just all around daily routines getting packed.
So how is it going?
I have had to make some tough decisions as to what I will be working on and I have had to squeeze some time anywhere possible. I was trying to get it done without the kids knowing but with the toddler in the family not wanting to go to bed unless I am sitting in his room, and this often taking at least an hour, I have had to try and convince the kids that what I am making is for other little kids that like the same things as them.. I know, worst parenting ever!
I have made some secret beanies using the Mad as a Hatter pattern from Ruth at Orchard House Editing. This pattern is extremely addictive and I can work it up fairly quickly.

I have completed 2 jumpers from wool that I have had in my stash for a while. I used some numbers from different patterns that I have knitted before and just did a basic raglan pattern. I used a loose gauge which meant that they worked up really quick. When i say quick I mean quicker than my usual jumper projects that take me months. Both of these took about 2 weeks although I did hit sleeve island on the second and lose motivation so it took a bit longer to be finished but once I got back to the sleeves they went quick enough.

What do you make a dinosaur obsessed 2 year old? When you have a stash of yarn that you are trying to use more of to save for your new house the answer is an amigurumi dinosaur. I have used the pattern from the book Animal Friends of Pica Pau 3 by Yan Schenkel. I have been known to say that I would never really make an amigurumi but I loved. I can see some more in my future especially as gifts.

The next started project that I am trying to keep secret is a pair of socks for my 6 year old son. If you follow on instagram you might remember I posted a colourway that he helped me dye. If you are lucky there might still be some left in the shop. It is called Jacob’s Help. I thought it would be nice to make Jacob a pair of socks from a skein and being a 6 year old who also loves dinosaurs, I am going to attempt my first colour work socks. I will be starting small and just putting some dinosaur footprints around the cuff. I am sure that he will love them and the fact that he helped my dye the yarn and the time we spent together doing that just makes me heart sing. These however will be gifted after Christmas as I ran out of time. More on this in future posts.
Granny Square day
Last week, on the 15th of August, it just happened to be Granny Square day. It is a celebration of all things crochet granny squares. I do love this day with everyone posting some amazing phots of various different squares and they are a great source of inspiration.

The donated granny squares.
This year on Instagram I shared a photo of some granny squares with a short explanation. Full disclosure, I did not make these squares. We had some donations to our local quilting group and with the donations was a bag of granny squares with some yarn. It is the beautiful Scheepjes Stone Washed in a lovely array of colours.
It took me a few weeks to decide if I wanted them. After about 2 months I asked the other ladies what would happen if no one took them and they would be donated to a local charity shop. I decided that I would rescue the squares from an unknown fate (charity shops in my area are often full so throw out some of the donations, I did not want that happening with these squares) and brought them home to make into something.
That has been the dilemma. Whoever has made these beautiful squares has had varying tension and some are slightly larger than others. There was also no pattern for the original squares, and not enough yarn to make more and finish it as a blanket. I do however have some ideas.
These squares are my daughters favourite colours. She has told me so a number of times when I have pulled them out to contemplate. So I am planning on using these to make some gifts for her for Christmas. There should be just enough yarn to get all my ideas completed.

I just love this combination of colours, so does my daughter.
Item number 1- I have seen some great little book covers made out of granny squares going around on instagram. This will be my first make. My daughter loves a good note book so it will give her something to keep it in when we are on the go.
Item number 2- I am going to be a little bit optimistic on this one and say I will use it to make a jumper. I am envisioning a row of granny squares along the bottom of the jumper. I am still deciding if I would like to maybe do something with shorted sleeves and try something of a flutter sleeve that she will be able to wear for summer or if I should do a long sleeve for winter.

I love the use of the blue as the background.
Item number 3- After planning the other 2 projects, I will still have 2 squares left. So for this one I am going to try a little bag. I am picturing a wide strap that runs through the bag with a granny square on either side. This will also be subject to what yarn is left after the other 2 projects. I am hoping that they work out well and I am able to finish all 3 as I think she will love this little set as a Christmas gift.
I would love to know about a time that you found some half finished treasures and were able to recreate it into something that you could use. Keep checking in and I will post what I get finished.
Wrapped in love
When one of my friends told me she was expecting I headed straight to the wool shop!!
As the goal of my business states, “Wrapping the world in love”, I aim to provide beautiful handmade items and inspire my customers to create those beautiful handmade items. There is no better way to do this then making beautiful baby items. For some reason when I think baby items I think quick makes. However, when working on a fingering weight blanket, it does not take less time.

Finished object!!
So with a pattern in mind and a few months, I was able to create this beautiful blanket for my friends baby. I couldn’t be happier with how it turned out and I now regret not making one for my own babies. They do however have blankets that I have made them and I am due to make one for my youngest. Plus I think they claim any finished quilts, shawls and other things I make.

A ripple crochet blanket with a 6 row colour repeat.
My friends baby arrived safely and is thriving. A complete cutie and I am just awaiting a visit so I can meet him.
Let’s talk hand quilting
As a follow up to my last post, let’s talk hand quilting. It has been interesting to see the evolution of hand quilting standards over the last few years. Talking to my mum (and one of my greatest inspirations when it comes to quilting) when she was learning the aim was to get your stitches as small as possible, aiming for 1/8 of an inch. When doing this you don’t want any areas not quilted that are bigger then about your fist. This gives some lovely texture and holds the layers together. This is what I had learnt from my mum.

Some of my mums beautiful work. This was a quilt I got for my 18th birthday.
Now to talk about current trends in hand quilting and I will have to say that I am not disappointed. The views around quilting seem to have shifted to one that you want to enhance your artwork. Enter big stitch quilting. In this technique you use larger stitches to hold the layers together. No more aiming for the smallest possible stitches. This technique also uses different threads and acts to help embellish the quilt top. Whilst I am very new to big stitch quilting, I will say that what I have done is quicker.

My current big stitch WIP. Once I finish the quilting I will remove the basting stitches.
One more way to hold the layers together is to tie or sew buttons onto the top. This is the way I quilted my first ever quilt. Although It has long been lost as I have moved during my adult years, it was an easy way for an eager 9 year old to learn about different techniques of working on quilts. I remember tying little pieces of embroidery floss onto my quilt after passing it through the layers.
Final thoughts? My final thoughts on all this is that no matter what technique you choose, love the quilt you end up with. There is no right or wrong, there are no quilt police. If it gives you the outcome you want, embrace it and make it yours.

Let’s talk machine quilting
I wanted to touch on some quilting options for today. I had originally written a post about this and forgotten to hit save. In hind site it was a blessing because it was way to long. So I am going to break this into 2. Today I want to talk machine quilting options and in my next post I will talk hand quilting.
Firstly let’s talk one of the easiest options, long arm quilting. If you are fortunate enough to have a long arm machine this is a good option. You can put your quilt on the large frame and move the machine instead of the quilt. There are also people that run businesses who specialise in doing this for people. The downside is it can be a bit pricey but if quilting is not something that you enjoy, it might be worth the extra dollars.
When you get a quilt long armed, you might get the choice of custom quilting or an all over pattern. Custom quilting is usually more expensive because of the hours it takes to complete. Something that you will need to think about and talk to your chosen quilter about. An all over pattern is often a little cheaper. This might also be called a panto or edge to edge.

This is a quilt top I sent away to a long arm quilter.
Now you can quilt on a domestic sewing machine. This is something that I do personally enjoy but it does take some time. An easy option for this is what is known as dot-to-dot quilting. You choose points on your quilt and sew between the points. You will need to use your walking foot and if you like you can draw lines to make sure you are sewing straight. I am usually a little impatient and skip the line drawing but I am always happier with the result if I do. I use a stitch slightly longer than I piece the tops with, usually about 3mm.

My dot-to-dot quilting. I don’t worry too much about being perfect. It is the overall effect for me and I am always in too much of a rush to be finished.
Free motion quilting can also be done on your domestic machine. You will need a free motion foot and I recommend talking to your machine dealer about the correct foot if you want to get started with this. It is useful to take a class to learn some of the basics and when I was starting, or if I am going back to it after some time off, I always do a few practices pieces. These are smaller basted squares that you can practice a design on. I used to think about this as a bit of a waste of time but they do make some cute quilted placemats and it is a lot better than having to unpick quilts because you don’t like the way the design is working out.

My little Janome is my favourite machine to free motion on.

For this quilt I did both free motion and dot-to-dot quilting.
One of the key things with free motion quilting is being relaxed. My good friend that taught me how to do this would often start our lesson with a glass of wine so I would then be more relaxed when I started. If wine is not your thing, maybe choose a time of the day that you have no other worries (for me it is currently nap time) and get some practice in. Ten minutes a day will greatly improve your skill and build your muscle memory.

One of my practice pieces. I always do this to try new patterns to get the feel of them.
One other thing you can do to help with muscle memory is doodle the design on some paper. This helps your brain get used to the pattern and prepare you for the task. I have often sat in meetings for work doodling quilting designs.
I hope this gives you some inspiration. Remember we all start somewhere but it is important to get started.
Happy Stitching
Welcome to October Rose Fiber Art

Well it is finally here! The time where I take that big step and start sharing the skills I have honed over the past few decades. I better introduce myself first.
Hi, I’m Fiona and I am a multi-crafter! Wow that felt good to say out loud. I know to my close friends and family this comes as no surprise as they have often complained about my craft nest being over run with half finished projects and random fabrics and yarn that I have pulled out to think over before deciding on a project. What is a craft nest, I hear you all ask. Well, I have often referred to my space that I carve out in the living room to spend my spare time as my craft nest. It is that comfy chair with a pile of WIPs (Works In Progress) next to it. They of course are all carefully placed so that the next time you sit you can quickly pick up and start from where you left off to make sure you get optimum craft time in those precious few moments of peace.

One of my current WIPs in my nest. A baby blanket for a dear friend to wrap her bundle of joy in. More on this in future blog posts.
I have crafted for as long as I can remember. Gathering scraps from mums projects and thinking up my own creations. Picking up fabric and yarn from anywhere I can to try new things and practice my skills. I learnt all these skills from the fabulous women in my life. My mum and grandmothers who were all excellent at their preferred craft of choice. Both my grandmothers were amazing knitters. My maternal grandmother making us jumpers every year. My favourite was a pink jumper with a cats face worked into it. I remember wearing it EVERYWHERE. My paternal grandmother made the softest baby clothes. My mother was the crocheter of the family. She has always made the most beautiful crocheted projects. She also sewed, and sewed, and sewed. We always had the most beautiful handmade dresses that she had made for us. When she started quilting I absorbed everything in. In my early teens I was piecing together my own simple projects and I have never looked back.
The past decade of my life I have accepted that my crafting is a part of me and I feel a little lost if I don’t do it. I have surrounded myself with wonderful inspiring people who are fiber artists themselves. I have learnt more about quilting, crochet and knitting than I thought possible and I have loved the journey.
October Rose is the next step of my journey. I am at the stage of my life where I want to share my art and all it entails. This small business of mine will have the fabrics, yarns and notions that can help you make beautiful projects and some of my own handmade creations for sale. Hopefully I can inspire some joy and love with my blog and build this space into a community that values the handmade and all that entails.
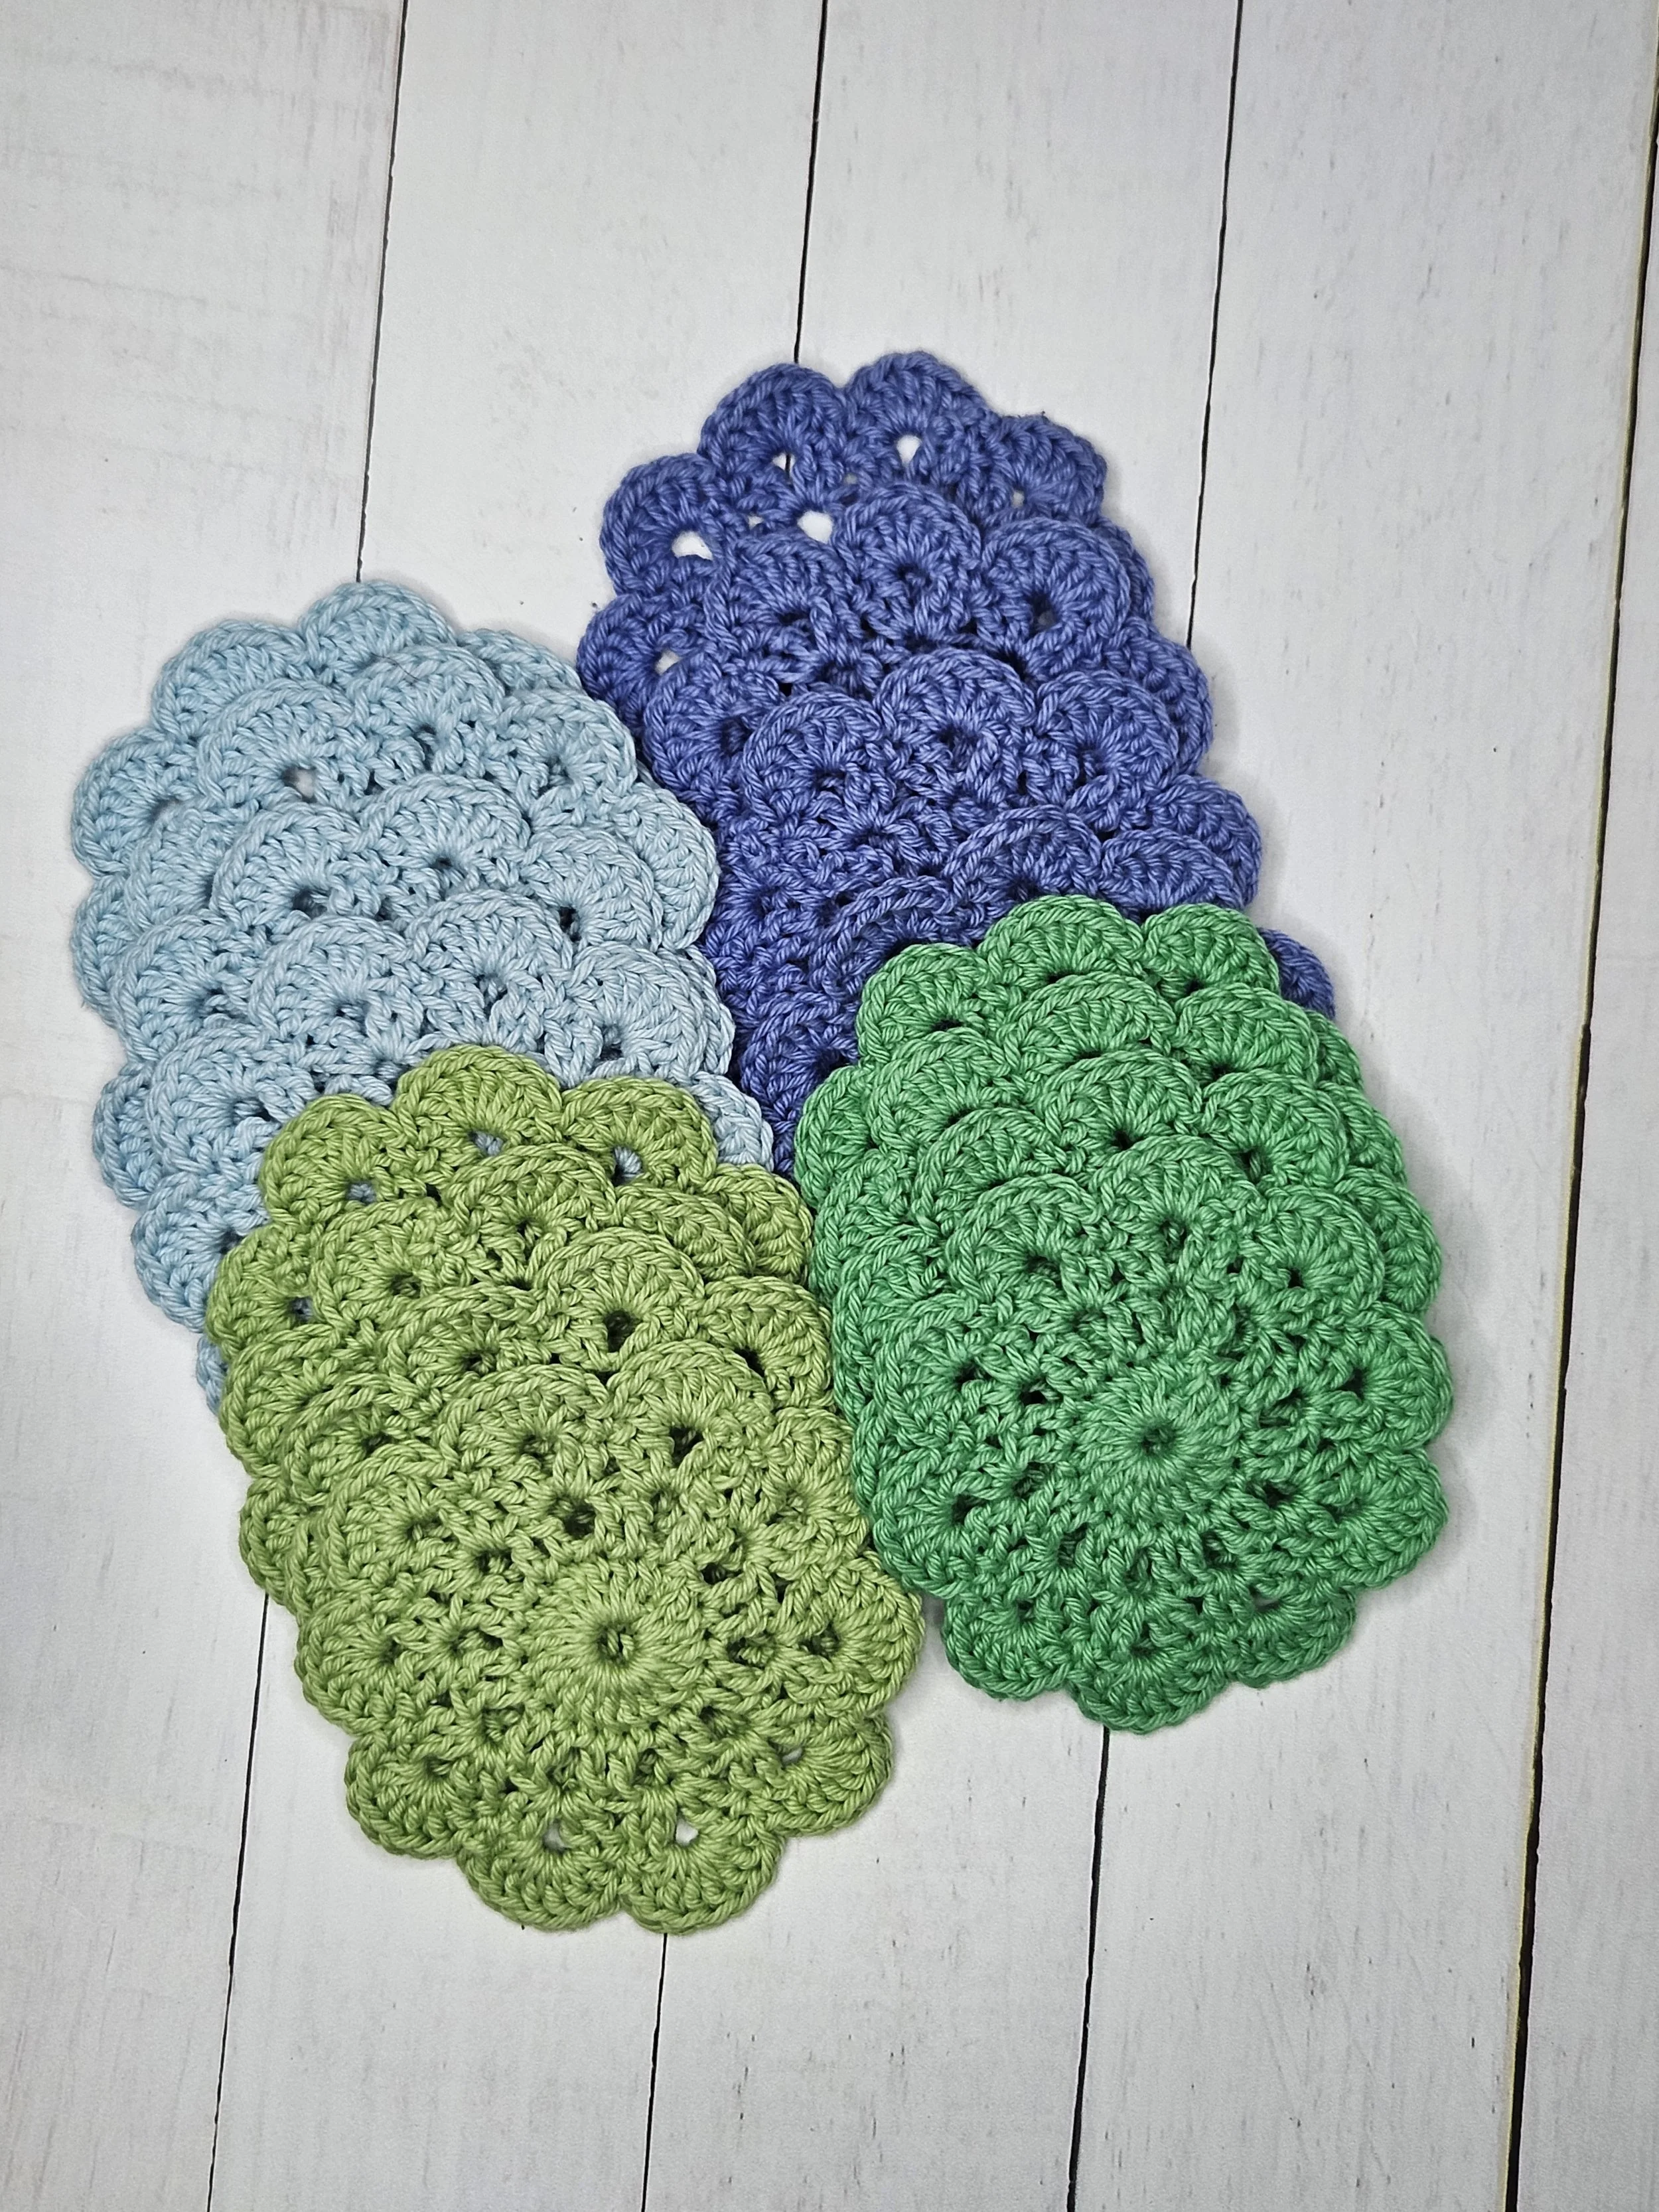
Handmade crochet motif.